
Since I didn’t ever get around to manufacturing a commercial version of my “Clicker Board” which I invented in the winter of 2012, I figured I might as well make it public so other people can make their own Clicker Boards if they are motivated to do so.
The Clicker Board solves the inevitable issue of late clicks when training running contacts. Unless you are able to recognize in advance when your dog is going to meet the criteria you have set, your CLICK will be late and you will end up clicking / marking the behavior of dog in air vs. dog running through the contact zone. Needless to say, late clicks can cause a lot of confusion!
(above) A video of Lil running over a Clicker Board on an A-Frame
(above) A video of Lil running over a Clicker Board on a dog walk ramp
(above) A video of Lil’s typical running Dog Walk at NADAC Champs 2013
If you want to build your own Clicker Board, its best to use a hinge to attach the top edge of the board to the A-Frame. I didn’t have a hinge on the board seen in the video but I later added a hinge and it worked better than tape, which worked well enough for indoor use but I had to keep messing with it. Gaffers tape (same color as the board if possible) can also be used to conceal the top edge so it is less visible to the dog.
I eventually covered the entire A-Frame with a durable, non-slip rubberized surface , the rubber belting commonly used in NADAC. This hides the seam entirely so the dog cannot see where the Clicker Board begins.
Here comes the tricky part: Box clickers work a lot better than button clickers and they last longer too. Buy a dozen! They don’t last long when used like this.
You will need to find something that will function like a button and will stick up higher than the box part of the clicker. This is what the board will rest on. I used 1/2″ diameter plastic tubing (cut into 3/4″ or so lengths) which I purchased at my local hardware store but wooden dowels would work too. I taped the tubing to the top of the box clicker with regular masking tape and then tested it by pressing down on the tubing. If the clicker clicks when you press on the “button” you have created, it will click when placed under the board.
Attach a bunch of box clickers near the lower edge of the board using 2-sided tape. I used 4 or 5 clickers along the lower edge and 3 more about half way up. This way, the lower my dog hit in the contact zone, the more clickers were activated. In a sense the board was able to differentiate between good hits and great hits based on the number of clickers that were activated. This also allowed me to jackpot for the best hits without having to watch my dog.
If you have a very large or heavy dog, you’ll want to put some wood strips (the same height as the box portion of the clickers) to keep the board from banging too hard on the box clickers (I’m guessing this might be a problem with heavier dogs). It’s also good to put some soft packing foam under the Clicker Board between the clickers, to help hold up the board so it is not resting entirely on the clicker buttons. I figured out what was the right amount of foam by trial and error. Too much foam and the clickers didn’t click, too little and the buttons didn’t release after my dog dismounted.
 (above) Clicker Board and A-Frame covered with a seamless non-slip rubber belting surface.
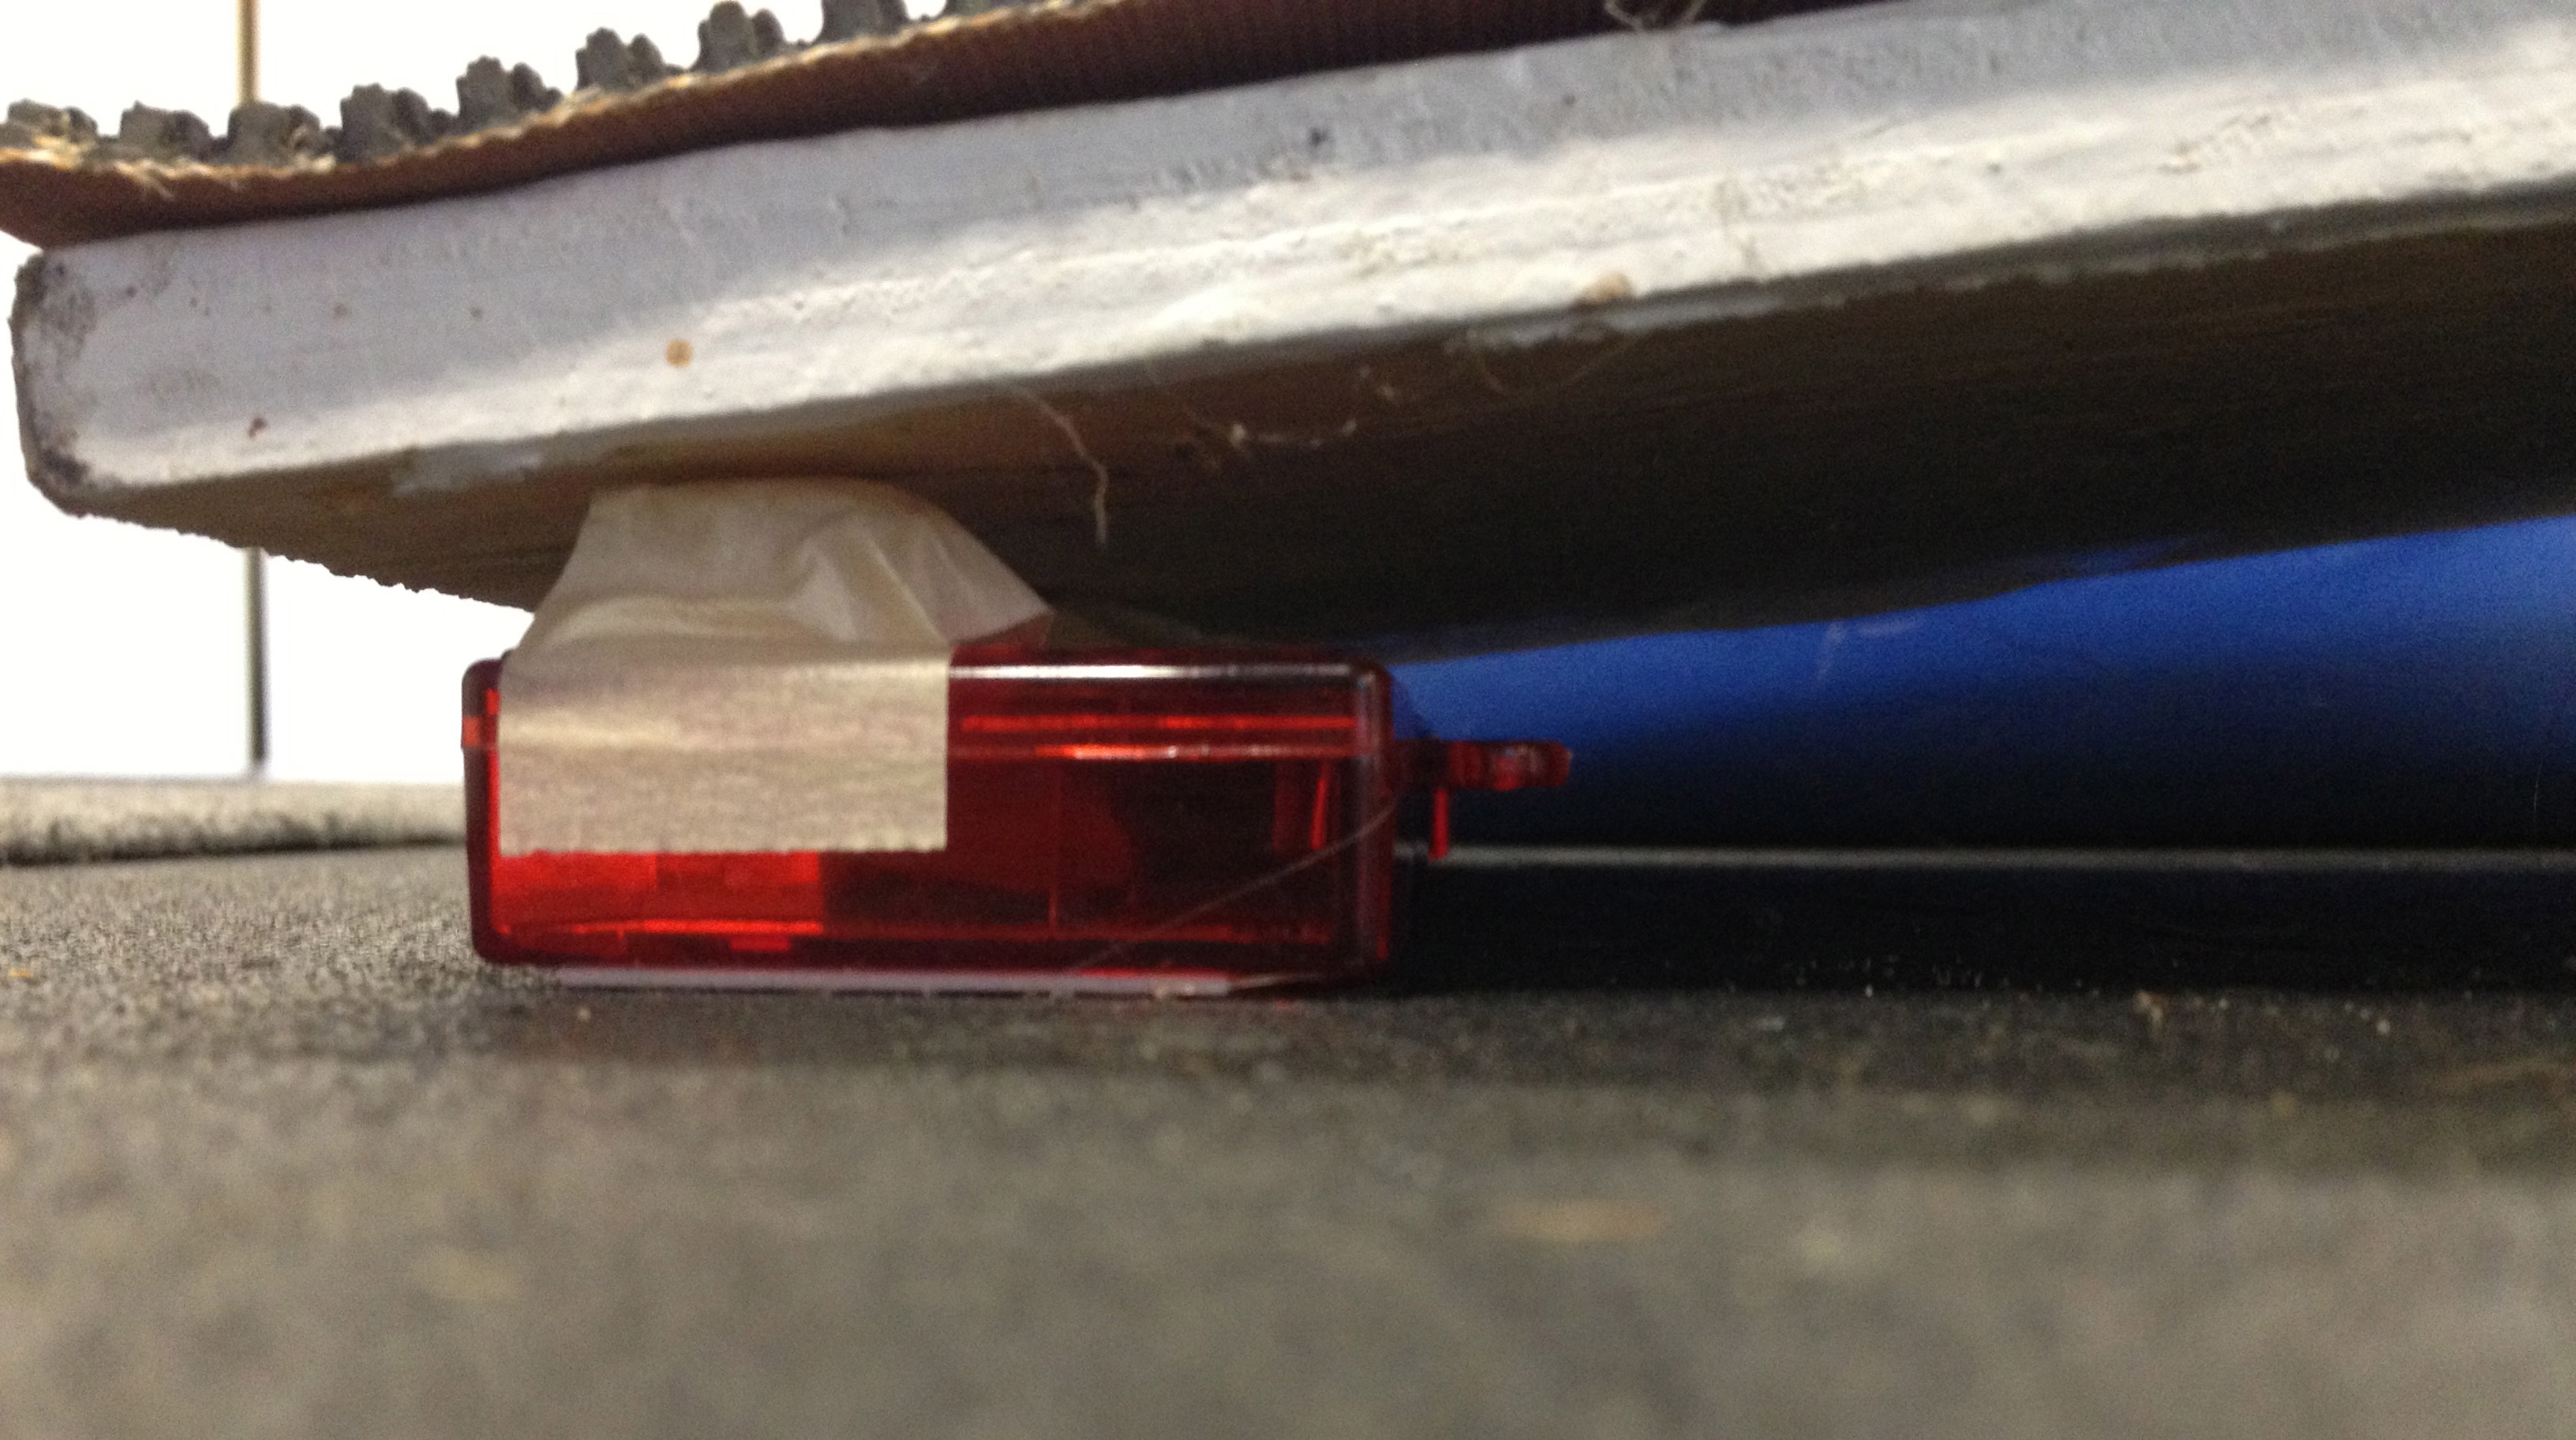
 (above) Detail view of Clicker Board under rubber belting surface
This may sound a bit confusing about how to manufacture a Clicker Board but if you stick with it and make one that works, I am certain you will find it well worth your effort. As soon as I started using the Clicker Board, I could see the light bulb go off for both of my dogs. They totally GOT what I wanted them to do and what they were being rewarded for.
One advantage to using a clicker sound vs a beeping sound is that you can easily transition between using a hand-held clicker and the Clicker Board which comes in handy when training on different equipment. Plus you can also use a hand-held clicker in conjunction with the Clicker Board to help improve your timing.
Another potential use for a Clicker Board is for dogs who miss the UP contact. Just run them over the A-Frame in the opposite direction!
Perfectly timed clicks offer consistent feedback to dogs so they understand exactly what they are being rewarded for: running vs. leaping. And if you don’t want the board to CLICK during some sessions, you can place a few small blocks of wood (slightly taller than the clickers) under the Clicker Board.
I also made a Clicker Board for my half-length Dog Walk, which is also covered with NADAC style rubber belting.
 (above) Clicker Board and half-length Dog Walk covered with a seamless non-slip rubber belting surface.
 (above) Detail view of Clicker Board under rubber belting surface
 (above) Top view of Dog Walk. You can see that the Clicker Board is not visible to the dog.
Feel free to make your own Clicker Boards but please don’t patent or copyright the idea. Consider this like Open Source or Free Ware for agility training. Thanks! Devorah

Devorah, you are a genius!
kristin, dart and jinn
LikeLike
That is very nice of you to say… not that I believe it! 🙂
LikeLike
I’ve received a few emails about HOW to build a Clicker Board so here is a simple description. A Clicker Board it is basically a piece of 1/2 inch plywood 3′ long X the width of the A-Frame (or DW) which is hinged or strapped to the A-Frame at the top.. and rests on soft packing foam and 4-5 box clickers along the bottom edge so when the dog runs on the board, the foam compresses and the clickers activate. After dog leaves the board, the foam raises the board back up to its original position. I described how I created buttons for the box clickers on in the post above.
BREAKING NEWS (HA HA) A guy who builds agility equipment is researching to see if he can MFG industrial strength clickers that would be made specifically for the Clicker Board. I will post about that if he comes up with a solution! That would greatly simplify things!
LikeLike
From a friend who made a clicker board via my blog post:
“I have made my clicker board for the Dog Walk. Just love it!! Went and had our first session and he tried his slowing at the top to break stride and trot down, hit the board and I threw the ball. Next go I ran as fast as I could past the end and he lept it, no reward. Next go, another leap. Next try he ran and he hit the board. After that no matter what I did, he actually ran the whole way, beginning to end, hitting the board each time. I think he had a light bulb moment !!! It really gave me more confidence not to have to watch so closely, but rather hear the click, throw the ball. Thanks heaps for this Devorah. Now to make the A-frame board. First I have to source a heap of box clickers for that one. My club used to sell these, but have changed to the I Clickers, just when I want a big supply.”
LikeLike
Thanks for sharing this Devorah! So clever!
LikeLike
Pingback: A Commercial Clicker Board | ArtAndDogBlog
Pingback: Missing That Running Contact Feeling | Ruby The Whippet
Pingback: I made a squeaker mat for training a moving A-frame | ArtAndDogBlog